Published on Sunday 29 March 2020
Create a simple GUI in Python using Kivy
I'm going to introduce two very basic sample codes to give a simple overview on the Kivy library. It's assumed that you have already installed it.
I'm going to introduce two very basic sample codes to give a simple overview on the Kivy library. It's assumed that you have already installed it.
Example #1 - only using a .py fileIn this example only a .py file is used to create graphical elements of the Kivy app. I hope this snippet can be a good introduction to understand the basic structure.
from kivy.app import App
from kivy.uix.label import Label
from kivy.uix.boxlayout import BoxLayout
from kivy.uix.button import Button

class main(App):
    def build(self):
        self.box = BoxLayout(orientation="horizontal") # creates a box
        self.btn = Button(text="Button") # creates a button
        self.lbl = Label(text="Label") # creates a label
        self.box.add_widget(self.btn) # add created button to the box
        self.box.add_widget(self.lbl) # add created label to the box
        return self.box

main().run()
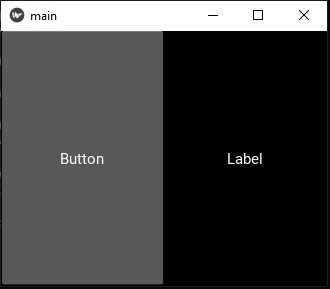
Result:
 Example #2 - mixing .py with .kv file
In this case, two buttons already exist because they are initially defined in the .kv file, which describe the layout and the element of the GUI. Further buttons can be dinamically added by clicking on the first button, which will call a function from the .py code. It's also possible to change the first button name by clicking on the second one.
from kivy.app import App
from kivy.uix.label import Label
from kivy.uix.boxlayout import BoxLayout
from kivy.uix.button import Button
from kivy.lang import Builder
from kivy.uix.screenmanager import ScreenManager, Screen

class test(Screen):
    def foo(self):
        self.ids.id_of_box.add_widget(Button(text="ANOTHER BUTTON"))

    def foo2(self):
        self.ids.id_of_first_button.text="FIRST MODIFIED"

class main(App):
    def build(self):
        Builder.load_file("mykv.kv")
        return test()

main().run()
The Kivy file:
<test>:
    BoxLayout:
        id: id_of_box
        orientation: "horizontal"

        Button:
            id: id_of_first_button
            text: "FIRST"
            on_press: root.foo()

        Button:
            text: "SECOND"
            on_press: root.foo2()
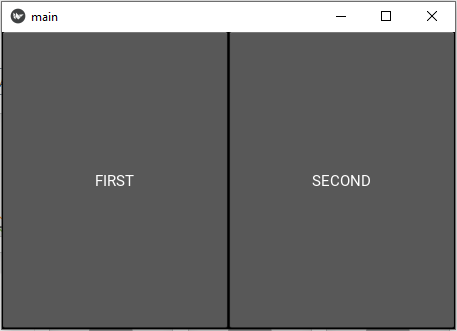
First view of the GUI:

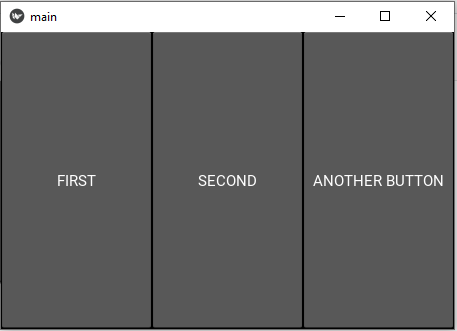
After clicking on "FIRST":

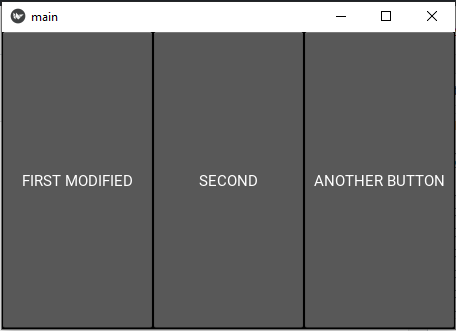
After clicking on "SECOND":
 Example #2.1 - Alternative using bind function
Instead of calling the Python function from the .kv file, it's possible to bind a button click to a function directly from the Python script e.g. with the following line of code:
self.ids.id_of_first_button.bind(on_press=self.foo)